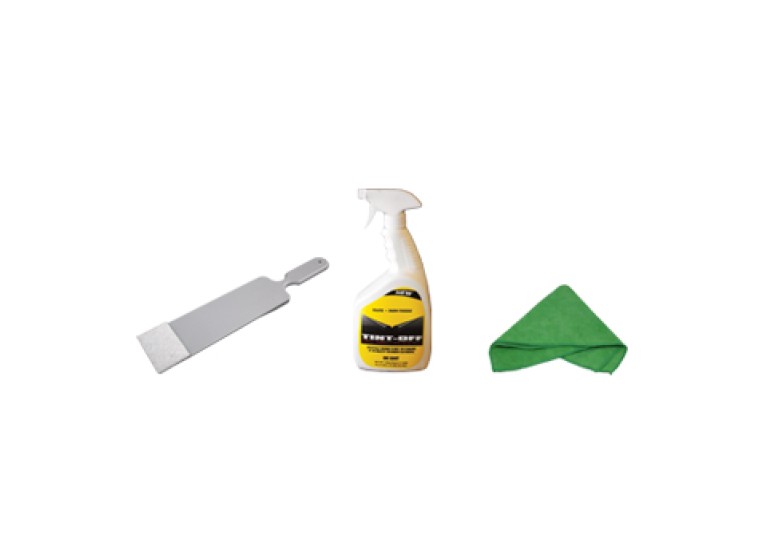
Installation Tools & Accessories
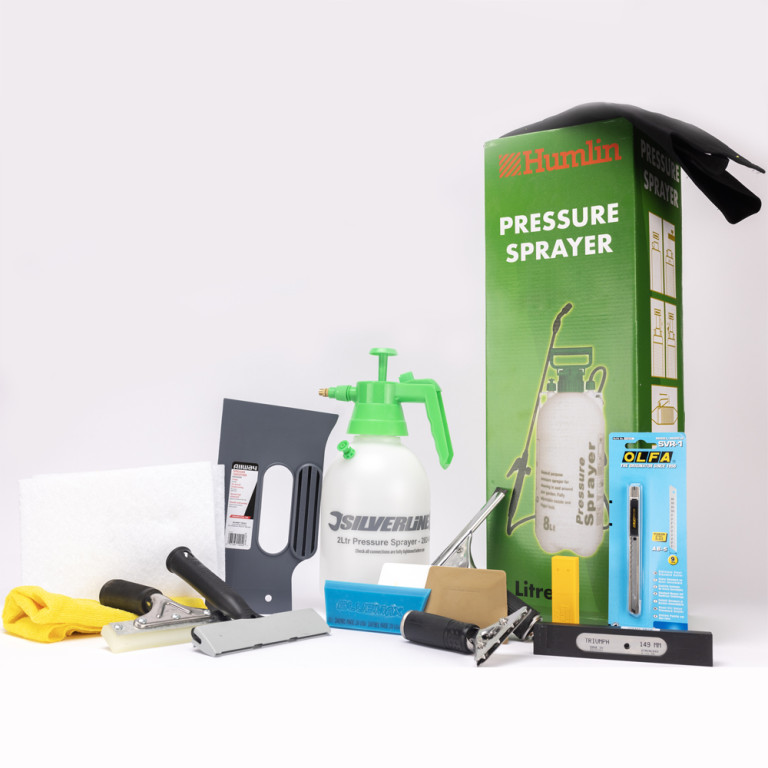
Below you find the widest range of stocked window film and vinyl application tools in the UK. Everything you need to achieve a prefect installation in any situation is available here.
Welcome to Tintfit Window Films, your ultimate source for top-quality Window Film Installation Tools. Our wide range of professional-grade tools and accessories is designed to make your window film installation projects a breeze. Explore our wide range of products, from knives and squeegees to application solutions and toolkits, all crafted to meet your specific needs. Whether you're a seasoned professional or a DIY enthusiast, our selection includes a variety of tools that are perfect for both professional installations and self-application of window films.
Buy Window Film Installation Tools
Enhance your window film installation with the finest tools available in the market. At Tintfit Window Films, we offer an extensive selection of high-quality products to cater to both DIY enthusiasts and professional installers.
Our Assortment of Tint Installation Tools
Discover our comprehensive range of tools and accessories for a seamless window film installation:
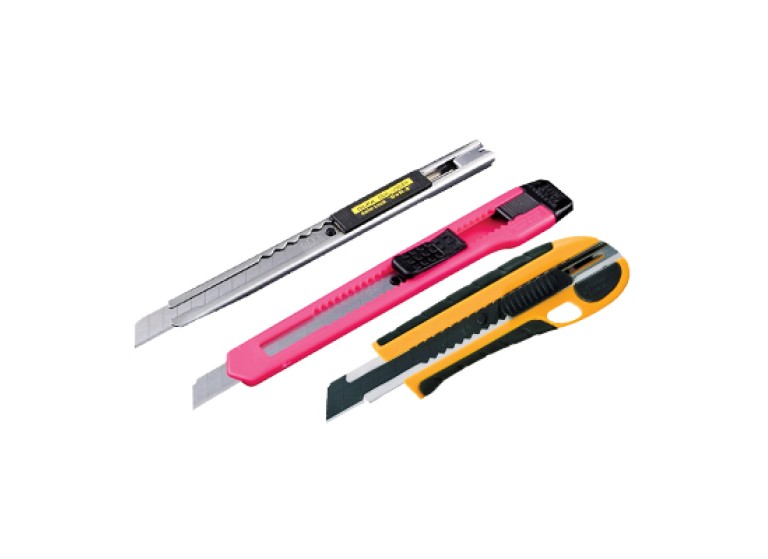
Knives. Our collection of precision knives are engineered to make precise and clean cuts, ensuring a professional finish for your projects.
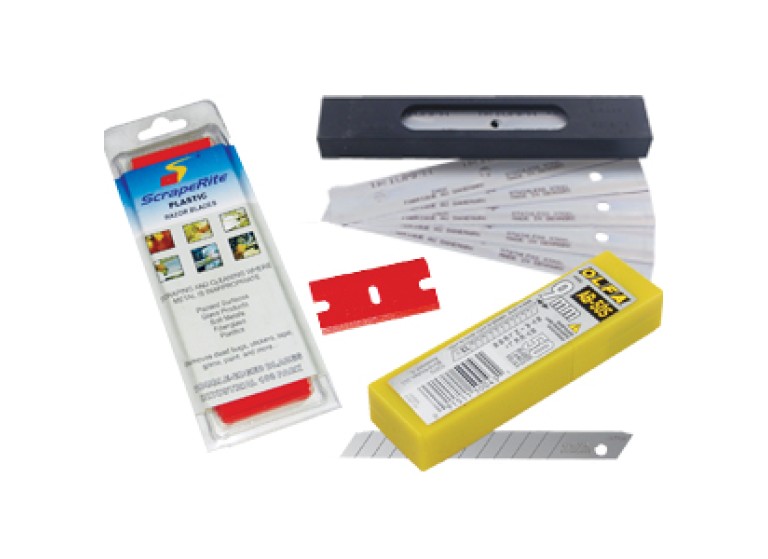
Blades. Choose from a variety of blades suitable for different tasks, providing you with the sharpness and durability needed for efficient installations.
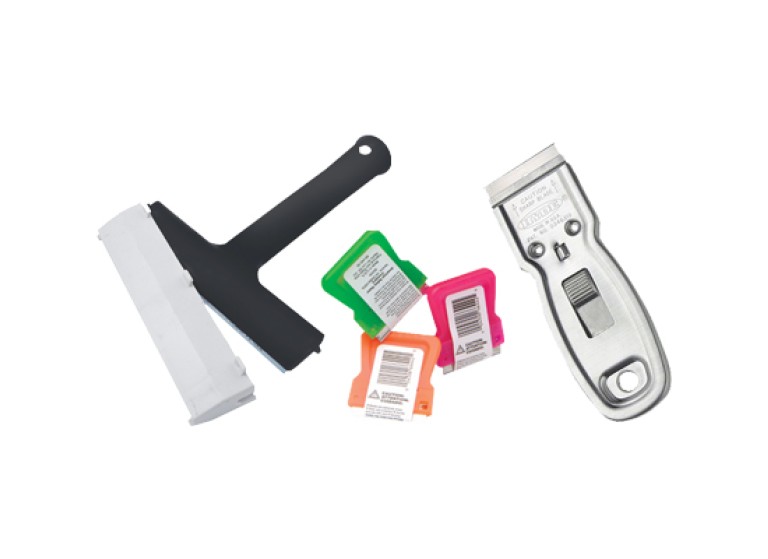
Scrapers. Our scrapers are designed to help you remove old film and adhesive residue with ease, ensuring a clean surface for your new installation.
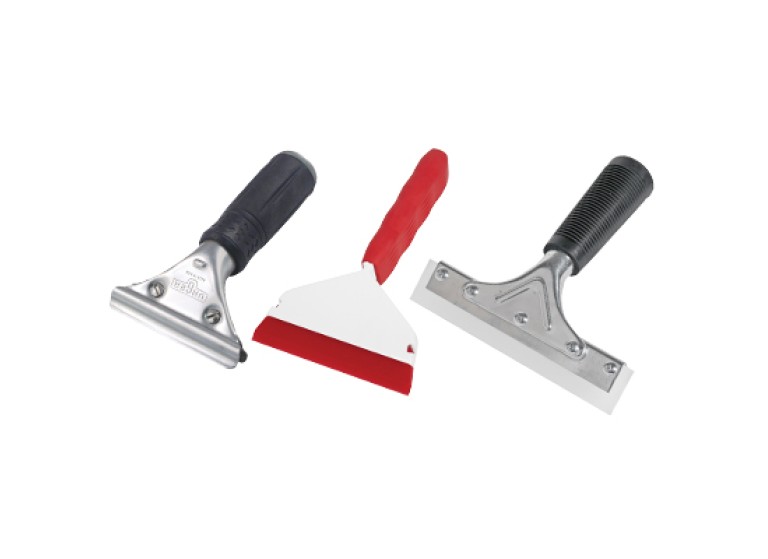
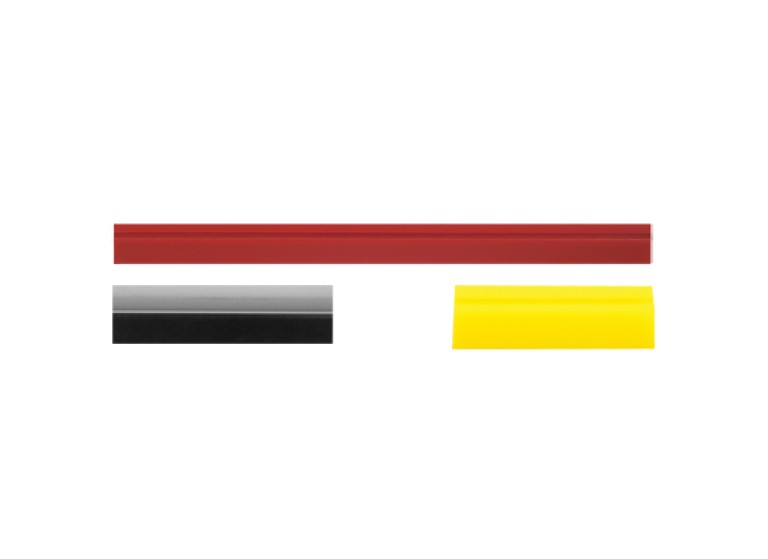
Handled Squeegees. For those seeking ergonomic design and ease of use, our handled squeegees offer the perfect solution for effective application.
Squeegee Essentials. Explore our squeegee essentials, including felts, buffers, and replacement blades, to maintain the optimal performance of your squeegees.
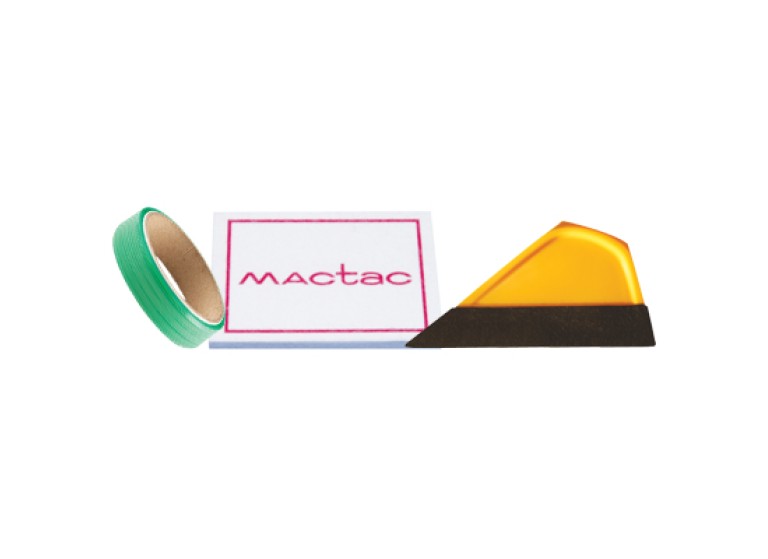
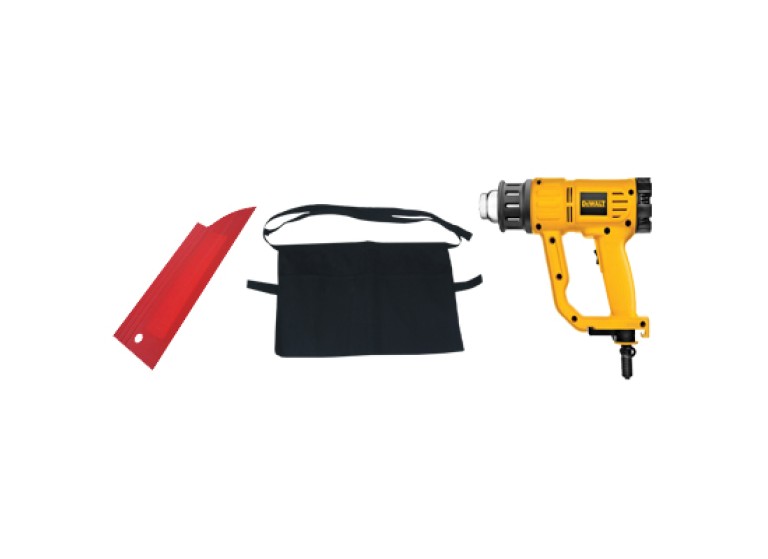
Paint Protection/Wraps/Vinyl & Graphics. Discover tools tailored for intricate tasks, such as installing paint protection films, wraps, vinyl, and graphics, with precision and care.
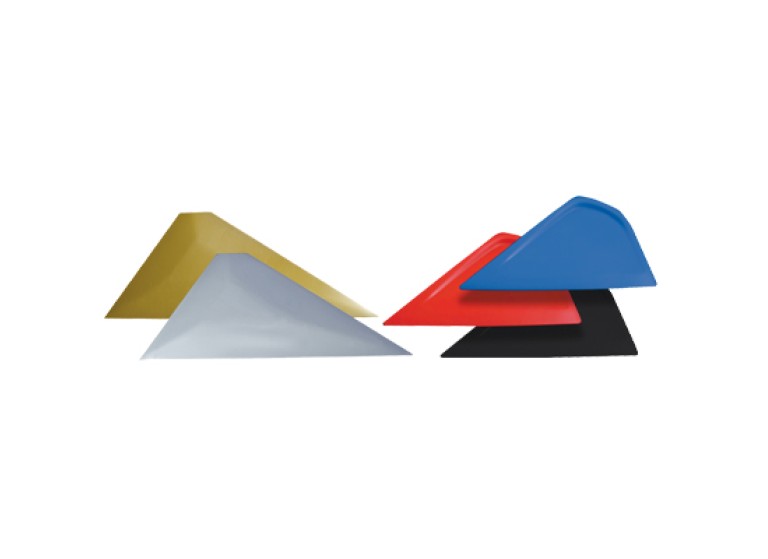
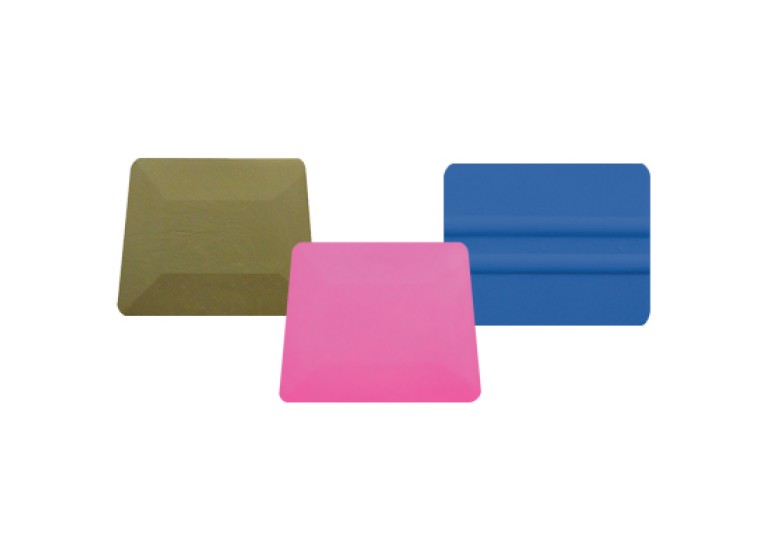
Hard Cards. Our hard cards are designed to provide the necessary rigidity for smoothing out film and ensuring it adheres perfectly to the glass.
Tube Squeegees. With tube squeegees, you can efficiently apply film to curved surfaces, ensuring a smooth and bubble-free finish.
Installation Accessories. Explore a range of installation accessories, from application solution sprayers to tapes, designed to streamline the process.
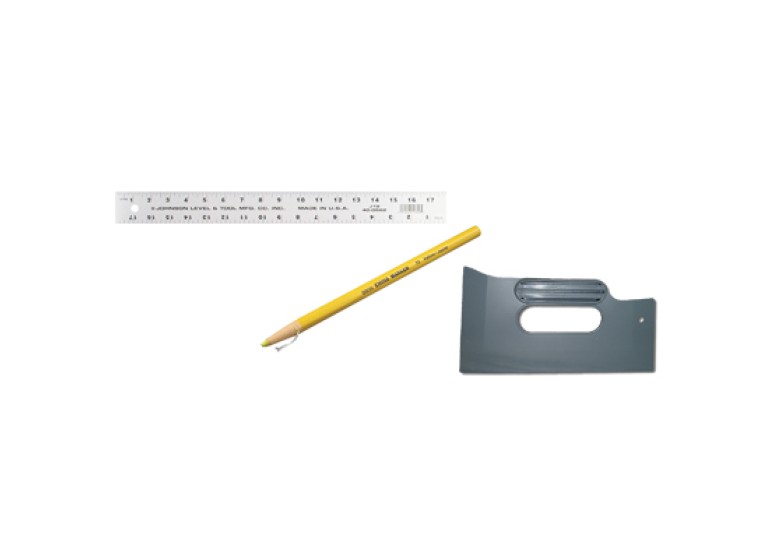
Measure/Mark & Trim. Achieve accurate measurements, markings, and trimming with our selection of tools tailored to these specific tasks.
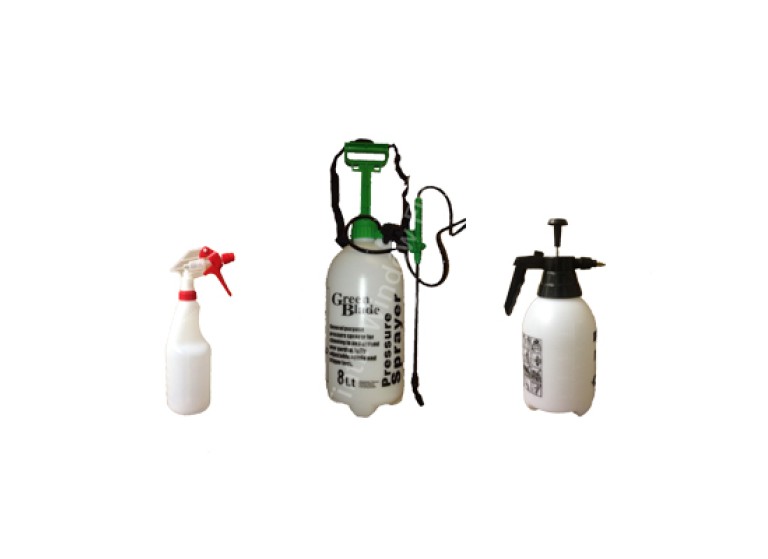
Sprayers & Accessories. Our sprayers and accessories are designed to provide even and consistent application of application solutions.
Cleaning/Prep & Chemicals. Maintain a clean and well-prepped work environment with our cleaning and preparation tools and chemicals.
Slitters & Accessories/Metres. For precise cutting and measurements, our slitters and metres are indispensable tools in any installer's arsenal.
Professional Window Tint Tool Kits. Opt for our professional window tint tool kits, specially curated to provide a comprehensive set of tools for experienced installers.
DIY Window Film Application Solution
For DIY enthusiasts, we offer a range of DIY window film application solutions that simplify the installation process, making it accessible and convenient for all skill levels.
Professional Window Tinting Tools
Professional window tinters trust our range of tools and accessories to achieve flawless results in every project. Our commitment to quality and affordability makes us the preferred choice in the UK.
Why Choose Us?
Unbeatable Prices: We offer the lowest prices in the UK without compromising the quality of our products.
At Tintfit Window Films, we're dedicated to providing you with the best window film installation tools and solutions, whether you're a DIY enthusiast or a seasoned film installation professional. Explore our catalogue, make your selection, and experience the difference our tools can make in your window film projects. Contact us today for more information or to place your order.
-
Tools Needed to Install Window Film
When it comes to installing window film, having the right tools can make all the difference. Whether you're a professional or a DIY enthusiast, here's a list of essential tools you'll need for a successful window film installation:
Utility Knife: Used for cutting the window film to the desired size and shape. Ensure it has a sharp blade for clean cuts.
Spray Bottle with Soapy Water: The soapy water acts as a lubricant and helps in positioning the film correctly on the glass.
Squeegee: A squeegee is essential for smoothing out the film, removing air bubbles, and ensuring proper adhesion to the glass.
Heat Gun or Hair Dryer: Used to shrink the film for a perfect fit to curved windows and to remove any remaining water or bubbles.
Measuring Tape: Measure the dimensions of your windows accurately to cut the film to the right size.
Scraper: Helps in removing any debris or adhesive residue from the glass before applying the film.
Soft Cloth or Microfiber Towel: Use this to wipe down the glass and the film during the installation process, ensuring a clean, smooth surface.
Ladder or Step Stool: Depending on the window's height, you may need a ladder or step stool to reach all areas.
Safety Equipment: Safety first! Consider using gloves and safety glasses to protect your hands and eyes during the installation process.
Film Application Solution: You can buy a professional film application solution or make your own by mixing a few drops of dish soap with water.
Patience and Attention to Detail: While not a physical tool, having patience and paying close attention to detail is crucial for a successful installation.
Remember, the quality of your tools and your technique can significantly impact the outcome of your window film installation. Whether it's for adding privacy, reducing heat, or enhancing security, having the right tools ensures a professional finish.
For the best window film options and tools in the UK, explore our range at Tintfit Window Films. We offer quality solutions for all your window film needs. Shop now and experience excellence in window film installation.
-
When it comes to installing window tint, having the right tools is essential. A squeegee is one of those tools that can significantly improve your tint installation process. Here, we'll explore whether or not you need a squeegee for tinting your windows.
The Benefits of Using a Squeegee for Tint
Smooth and Bubble-Free Finish: A squeegee is designed to help you press the tint film evenly onto the glass. This process ensures that there are no air bubbles or wrinkles, resulting in a smooth and professional finish.
Improved Adhesion: A squeegee helps the tint adhere properly to the glass surface. This is crucial for the long-term performance and durability of the tint film.
Faster Installation: With a squeegee, you can work more efficiently. It allows you to cover larger areas of the window with each pass, saving you time during the installation.
Effective Tint Shaping: You can use a squeegee to shape the tint film accurately. This is especially important when dealing with curved or contoured windows, as it helps the film conform to the shape of the glass.
Do You Have to Use a Squeegee?
While using a squeegee is highly recommended for achieving a professional-looking tint job, it's not an absolute necessity. Some DIYers and professionals with years of experience might have developed techniques that require less squeegee usage, but it's still a valuable tool.
The Bottom Line
To achieve the best results when applying window tint, using a squeegee is a wise choice. It can make the process smoother, more efficient, and help you avoid common issues like air bubbles and wrinkles. Whether you're a professional or a DIY enthusiast, a squeegee should be in your toolkit for tinting projects.
At Tintfit Window Films, we offer top-quality window tint films and installation tools to ensure your tinting projects go smoothly. Explore our range of products and achieve excellence in window tinting.
-
If you're considering adding window film to your windows, you might wonder if it's something you can tackle on your own. The answer is yes, you can install window film yourself, provided you have the right guidance and tools.
You can install window film yourself - simply use our fitting guide.
-
When it comes to installing window film, a common question that arises is whether you can use dish soap for the process. The answer is both yes and no, depending on how you intend to use it. Here's the lowdown on this method.
Yes, but with Caveats
Soapy Water Solution: Using a mild dish soap and water mixture can be helpful when installing window film. It acts as a lubricant, allowing you to position the film correctly and squeeze out air bubbles.
Prevent Premature Adhesion: The soapy solution reduces the adhesive's stickiness for a short time, making it easier to work with. It's especially useful for larger windows or intricate installations.
Application Process: Mix a few drops of dish soap in a spray bottle filled with water. Lightly mist the glass surface before applying the film.
Be Cautious
Residue: While dish soap can aid in installation, it can leave a soapy residue that's challenging to clean once the film is in place. This residue can also attract dust and dirt over time.
Caution with Concentration: The soap-to-water ratio is crucial. Too much soap can hinder the adhesive, and too little won't provide sufficient lubrication. We recommend 1 teaspoon to 1 litre of water.
A Better Alternative: Application Fluids
For a more effective and lasting solution, it's advisable to use a professional window film application solution. These are specially designed to facilitate the installation process and reduce the risk of residue. They come in ready-to-use spray bottles or concentrated form, offering a cleaner and more efficient application.
Conclusion
While you can use dish soap to install window film, it comes with certain drawbacks, particularly the potential for residue. To ensure a professional and lasting installation, it's best to opt for a dedicated window film application solution, readily available for your convenience.
So, for a smooth and trouble-free window film installation experience, consider using the right and professional tools and solutions.
-
How to Smooth Out Bubbles in Window Film
Bubbles in window film are a common concern during the installation process. While they can be frustrating, there are methods to effectively smooth them out for a flawless finish. Here's a step-by-step guide to help you tackle this issue like a pro.
1. Gather Your Tools:
Spray Bottle: Fill it with a mixture of water and a few drops of mild dish soap.
Squeegee: An essential tool for installing window film.
Razor Blade or Utility Knife: Use this to trim excess film.
Heat Gun or Hair Dryer: For more advanced bubbling issues.
Soft Cloth or Paper Towel: To wipe off excess water.
2. Identify the Bubbles:
Before you begin, identify the bubbles in the film. Small bubbles often disappear on their own as the film cures, but larger ones need attention.
3. Prepare the Surface:
Ensure the glass and the film are clean. Apply the soapy water solution to the glass. This will provide lubrication for moving the film and prevent damage.
4. Squeegee Method:
For small bubbles, start by using the squeegee. Gently press on the bubble while directing it towards the film's nearest edge. Be cautious not to scratch or crease the film.
5. The Push and Tow Technique:
For larger bubbles, employ the push and tow technique. Using a squeegee, push the bubble to the edge of the film, and then, with a firm and even motion, tow it off the edge.
6. Heat Method (For Stubborn Bubbles):
For persistent bubbles, you may need to use heat. Carefully use a heat gun or hair dryer on the low heat setting to warm the film. Once it's warm to the touch, use the squeegee to push out the bubble. The heat softens the adhesive, making it easier to work with.
7. Trim Excess Film:
After removing bubbles, trim any excess film using a razor blade or utility knife. Ensure the blade is sharp to avoid tearing the film.
8. Final Pass:
Give the entire window a final pass with the squeegee, pushing any remaining water or air towards the edges.
9. Allow to Cure:
Leave your window film to cure for a few days. Small water bubbles should disappear as the film dries and adheres.
10. Patience Is Key:
Remember, achieving a bubble-free installation requires patience and practice. If you're unsure or uncomfortable with the process, consider seeking professional installation to ensure the best results.
Removing bubbles in window film is a manageable task with the right tools and techniques. Proper preparation and a gentle touch can result in a smooth, professional-looking finish.
-
When you've just installed window tint, it's common to notice small bubbles and a slightly cloudy appearance. The good news is that these imperfections are usually temporary, and your tint will become smoother over time. Let's delve into the details of why these bubbles occur and how long it typically takes for them to vanish.
1. Initial Bubbles
When window tint is first applied, the adhesive and film may trap tiny air bubbles. These can result from the installation process, the adhesive curing, or even external factors like temperature and humidity. It's essential to remember that not all bubbles are alike.
There are typically two types:
Water Bubbles: These are usually larger and more visible. They occur when the installer uses a soapy solution during installation. These water bubbles should disappear faster.
Air Bubbles: These are smaller and trapped between the adhesive and the glass. They can take a bit longer to dissipate.
2. Adhesive Curing
One of the main factors contributing to bubble disappearance is the curing of the adhesive. This process involves the adhesive bonding firmly with the glass. As the adhesive cures, it pushes out any trapped air or water, gradually making the film smoother.
3. Timeframe
The time it takes for bubbles to disappear can vary based on several factors:
Film Quality: Higher-quality films tend to have better adhesives, which can lead to quicker bubble elimination.
Installation Skill: The expertise of the installer plays a significant role. A professional installation usually results in fewer bubbles and quicker resolution.
Environmental Conditions: Temperature and humidity levels in your location can impact the curing process. Warmer, more humid environments generally expedite bubble disappearance.
So, how long does it take?
While every situation is unique, it's common for most of the bubbles to vanish within the first few days to a week after installation. The curing process can continue for several weeks, with tiny imperfections gradually disappearing. In some cases, particularly with lower-quality films or less-than-ideal installation, it might take a bit longer.
Tips for Faster Bubble Disappearance
Patience: The most critical factor is allowing time for the curing process. Avoid touching or tampering with the tint during this period.
Quality Installation: Choosing a professional installation service increases the likelihood of a bubble-free finish.
Proper Maintenance: Following the installer's post-installation care instructions can aid in faster bubble disappearance.
Window tint bubbles are typically temporary and will diminish over time as the adhesive cures and the film settles. If you're concerned about the progress, consult with your installer or tint professional for guidance.
-
Seeing water bubbles after window tint application is entirely normal. These bubbles are part of the installation process and will typically disappear over time. Here's a quick breakdown:
Why They Appear: Bubbles are created during installation when a soapy solution is used to position the tint film. This solution evaporates, and as the adhesive cures, it pushes out the trapped air and water, resulting in a smooth finish.
Patience is Key: Most bubbles will vanish within days to a week as the tint adhesive settles. Factors like film quality, installer expertise, and local conditions can influence the speed of bubble disappearance.
In short, don't be concerned if you see water bubbles after window tinting; it's a normal part of the process. They should clear up as the adhesive cures and the film adheres to the glass. If you're worried about the progress, consult your installer or a tinting professional. Patience and proper maintenance will lead to a bubble-free result.
-
If you're considering window film installation, it's natural to wonder about the time involved. The duration of the installation process can vary based on several factors.
Here's a helpful breakdown:
Size and Complexity: Smaller windows with straightforward shapes usually take less time. Larger, intricate windows, like those with curves or irregular dimensions, will naturally extend the installation duration.
Type of Film: Different window films have unique characteristics. Some films may have quicker installation times due to their adhesive properties and thickness.
Professional vs. DIY: Professional installers are experienced and can work efficiently. If you opt for a DIY installation, expect to spend more time, especially if you're new to the process.
Preparation and Cleanup: Proper preparation, including cleaning the glass, is crucial and may add to the overall time. Similarly, thorough cleanup and inspection after installation are essential for a flawless finish.
On average, a professional installer can complete a typical residential project in a few hours. If you're tackling it yourself, it might take longer, depending on your experience. Commercial or larger-scale projects can span several days.
Remember that quality installation is key to the effectiveness and longevity of your window film. While a quicker installation might be appealing, it's essential to prioritise a thorough, precise application. The time invested is well worth the long-term benefits of improved energy efficiency, privacy, and UV protection.
In summary, the time to install window film varies based on factors like window size, film type, and whether it's done by a professional or as a DIY project. Prioritise precision over speed for the best results.
-
Considering a DIY window tinting project? It's a valid option, but there are crucial factors to weigh before diving in. Let's break down the pros and cons:
Pros of DIY Window Tinting
Cost Savings: DIY projects are generally more budget-friendly than hiring professionals. You can purchase window film kits and install it yourself, reducing labour costs.
Flexible Schedule: You decide when to tackle the project. No need to coordinate with installers' schedules.
Hands-On Experience: It can be a satisfying DIY accomplishment. You'll gain practical skills and an understanding of the window tinting process.
Cons of DIY Window Tinting
Skill and Precision: Window tinting requires precision. Achieving a bubble-free, flawless finish is challenging for beginners. Mistakes can lead to a wasted film or the need to hire a professional for corrections.
Time-Consuming: DIY projects take more time, especially for novices. Professional installers work efficiently, whereas DIYers might need hours for a single window.
Quality Concerns: The quality of the installation can vary widely. A professional ensures a high-quality finish, while DIY projects may result in uneven tint, bubbles, or peeling.
Warranty Implications: Most professional installations come with warranties. DIY projects may not offer the same level of coverage.
When DIY Window Tinting Makes Sense
Small Projects: If you have only a few small windows to tint, DIY can be cost-effective.
Experience: If you have prior experience with window tinting or a willingness to invest time in practice, DIY is more viable.
Patience: DIY projects require patience and meticulousness. If you're detail-oriented, it might be a good fit.
When Professional Installation Is Better
Large or Complex Projects: For larger or unusually shaped windows, hiring professionals ensures a high-quality result.
Precision: If you want a flawless finish and lack confidence in your DIY skills, professionals are the way to go.
Warranty and Quality: Professional installations often come with warranties and ensure a high-quality, long-lasting tint.
Whether DIY window tinting is worth it depends on your skills, the size and complexity of your project, and your desired quality. DIY can save money and provide a sense of accomplishment, but for optimal results, especially on larger or intricate projects, professional installation is often the wiser choice.
-
Window tinting can significantly enhance the privacy, comfort, and aesthetics of your space. When exploring this option, you might wonder if window tint is self-adhesive.
Let's delve into the details:
Understanding Self-Adhesive Window Tint
Self-adhesive window tint, also known as "adhesive-backed" or "sticky-back" film, is a type of window film designed for easy DIY installation. This film comes with a backing covered in adhesive, protected by a release liner. To install, you simply remove the liner, exposing the adhesive side, and apply it to your window.
Pros of Self-Adhesive Window Tint
DIY-Friendly: Self-adhesive films are excellent for DIY enthusiasts. You can apply them at your own pace, saving on installation costs.
Variety: They come in various designs, including decorative, frosted, and tinted options, allowing for customization.
Affordability: Self-adhesive films are generally budget-friendly, making them an attractive choice for cost-conscious consumers.
Drawbacks of Self-Adhesive Window Tint
Installation Skill: Achieving a bubble-free, flawless finish can be challenging, especially for first-timers. It demands precision and practice.
Repositioning Difficulty: Once applied, it's often difficult to reposition or remove self-adhesive film without damaging it.
Non-Adhesive (Static Cling) Window Tint
Another type of window film is non-adhesive, using static cling to adhere to glass. These films are more forgiving for DIY installation because they can be repositioned and removed without adhesive residue. They're ideal for temporary solutions.
Professional Installation
For a premium, long-lasting result, many opt for professional installation. This ensures precise fitting, a flawless finish, and often comes with warranties. Professionals have the skills and tools to handle any challenges that might arise during installation.
Yes, self-adhesive window tint exists and offers an affordable DIY solution for many. Whether it's the right choice for you depends on your skill level, the complexity of your project, and your willingness to invest time in installation. Non-adhesive options and professional installations also cater to different needs. So, when considering window tint, evaluate your preferences and the specific requirements of your space to make an informed decision.
-
Essential Tools for Starting a Window Tinting Business
Starting a window tinting business can be a lucrative venture. It's a service in demand, offering benefits like increased energy efficiency, privacy, and UV protection.
Starting a window tinting business requires a set of specialised tools to ensure professional and efficient installation. Here's a breakdown of the essential equipment needed to kickstart your venture:
Standard Tools
Utility Knife: A sharp utility knife is indispensable for trimming the tint film accurately and achieving clean edges.
Spray Bottle with Soapy Water: This solution helps you apply the film smoothly without leaving air bubbles.
Squeegee: A squeegee is used to remove excess water and air bubbles during the application process.
Heat Gun or Hair Dryer: These tools assist in stretching and fitting the tint film properly around curved surfaces.
Measuring Tape: Precise measurements are crucial for a seamless tint installation.
Scraper: This tool is essential for removing any adhesive residue or debris from the window surface.
Soft Cloth or Microfiber Towel: You'll need these to clean and prep the window before applying the tint.
Ladder or Step Stool: To reach higher windows and ensure a thorough application.
Additional Tools:
Tube Squeegees: These are handy for tight spaces and more intricate applications.
Film Application Solution: Specialised solutions improve film adhesion and help with positioning.
Professional Tool Kits
When you're looking to invest in a comprehensive set of tools, consider professional window tint tool kits. They come in various configurations to suit your specific needs:
Kit Starter: Ideal for beginners, this kit includes the basics to get you started.
Kit Semi-Professional: A step up, with more tools for added convenience.
Kit Professional: Tailored for experienced tinters, this comprehensive kit contains a wide range of tools.
Full Auto Kit: Suitable for auto window tinting businesses, it includes tools designed for vehicle windows.
Full Flatglass Kit: Geared towards businesses focusing on residential or commercial window tinting.
Investing in a professional tool kit can save you time and improve the quality of your work. Your choice depends on the scale and focus of your window tinting business. With the right tools at your disposal, you're well-equipped to deliver high-quality results and build a solid reputation.
Starting your window tinting business with the right tools is a crucial step toward success. Whether you opt for the standard tools or a professional kit, having the proper equipment will ensure your installations are precise and efficient.
-
When it comes to installing window tint, the type of liquid you use can significantly impact the process and the final result. The liquid used during installation serves as a lubricant, allowing you to position and adjust the film before it adheres permanently.
Here are the most commonly used liquids for window tint installation:
Water with a Few Drops of Dish Soap: A mixture of water and a small amount of dish soap is one of the most popular choices for DIY window tint installations. The soap helps to reduce surface tension, making it easier to manoeuvre the film. This soapy water solution allows for proper positioning of the tint, reducing the risk of creases and bubbles.
Specialised Tint Application Solutions: For professional window tint installers, specialised tint application solutions are often the preferred option. These solutions are specifically designed for window film installation. They provide the ideal level of lubrication and are less likely to cause issues like contamination or mineral deposits. While they may cost a bit more than the DIY dish soap solution, they offer consistency and reliability.
Water and Isopropyl Alcohol: Some installers prefer a mixture of water and isopropyl alcohol. This combination helps the film adhere to the glass more quickly and can reduce the drying time. However, it may not be as forgiving for beginners, as the alcohol can cause the film to adhere more rapidly.
It's important to remember that the type of liquid you use should match your level of experience and the specific requirements of your window tint project. If you're new to window tinting, starting with a water and dish soap solution is a safe bet. As you gain experience and confidence, you may choose to explore other options like specialised application solutions.
Ultimately, the key to a successful window tint installation is not just the liquid you use but also your technique. Proper cleaning of the glass, precise cutting of the film, and thorough squeegeeing are equally important. For professional results, consider investing in high-quality window tint and the right tools for the job.
